Scanner
Required for the Habitat Builder fragments, furniture, lights, poster, Biolab, and power terminal interactions.
The Welcome Center is the next clean objective after the Angel Comb route. Swim southeast from the Lifepod at about 150 degrees, scan both Habitat Builder fragments, collect the Dining Table, Biolab, wall lights, and New Life Poster, restore power, choose your first biomods, then clear the southwest wreck for Dive Elevator, Beacon, and Tadpole progress.
Updated 2026-06-09. Tested in Early Access build 115506.
Think of this as the first real base-building trip. You are not just visiting a landmark; you are collecting the tool, parts, decorations, power access, and biomod choices that make the next hour smoother.
Required for the Habitat Builder fragments, furniture, lights, poster, Biolab, and power terminal interactions.
Bring one spare battery before leaving the Lifepod. It is also part of the Habitat Builder craft chain later.
The route is short, but the interior detour and cave scan are easier if you surface before entering.
The southwest wreck and nearby seep are still early-game routes, but they start punishing sloppy inputs. Keep these controls straight before you drop toward deeper water.
After choosing Dash, press W plus Left Shift for a forward burst. Tapping Left Shift without a direction can kick you backward instead.
With Air Bladder selected, press F to refill oxygen. This is separate from the fast-ascent action.
Right-click with Air Bladder selected to fast ascend toward the surface when a deep detour goes wrong.
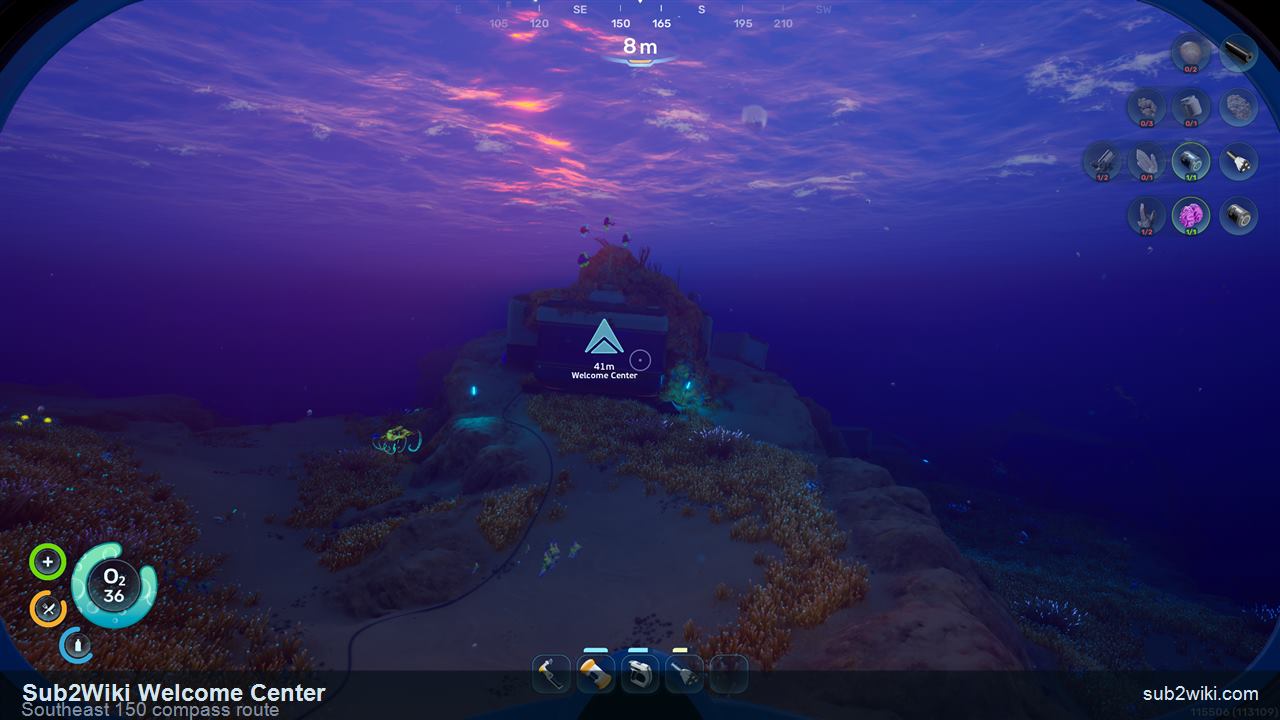
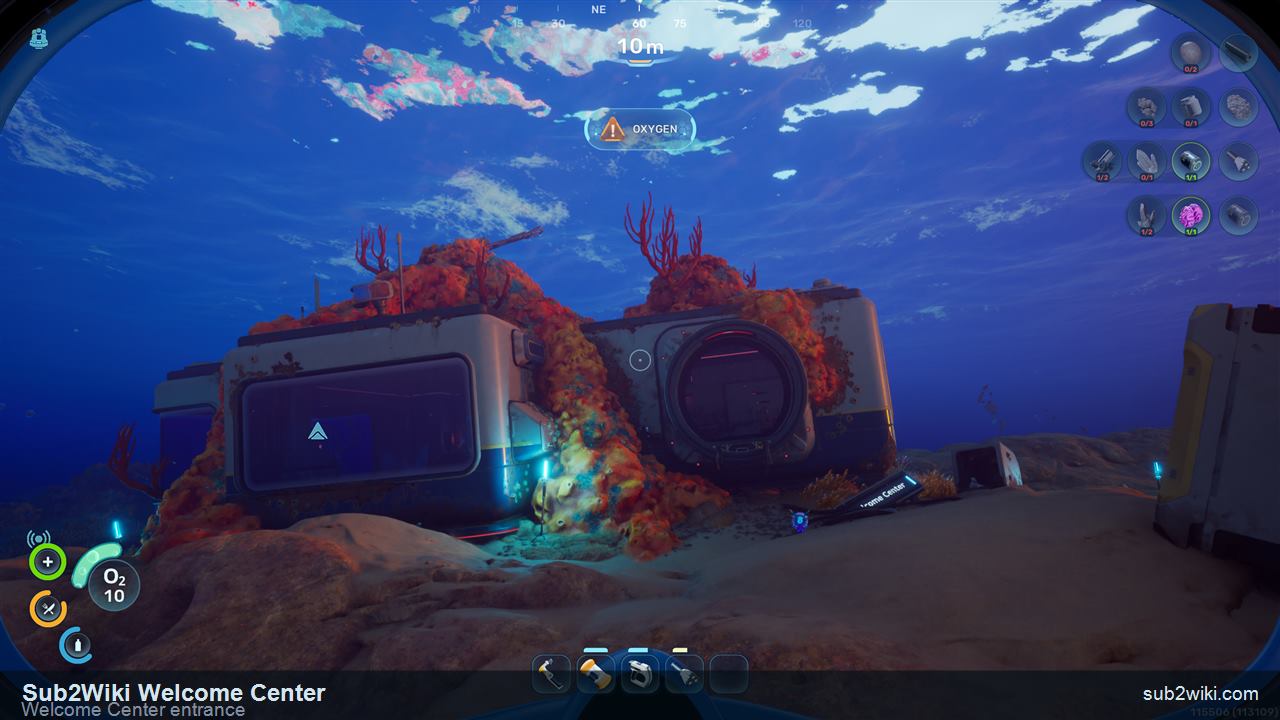
Leave the Lifepod and line your compass up around 150 degrees southeast. The Welcome Center is close enough for an early trip; keep the lit building ahead and surface before you commit to the interior route.
The entrance is visible from the lighted structure. If you arrive low on air, reset oxygen first, then move toward the right side of the entry where the first important scan is waiting.
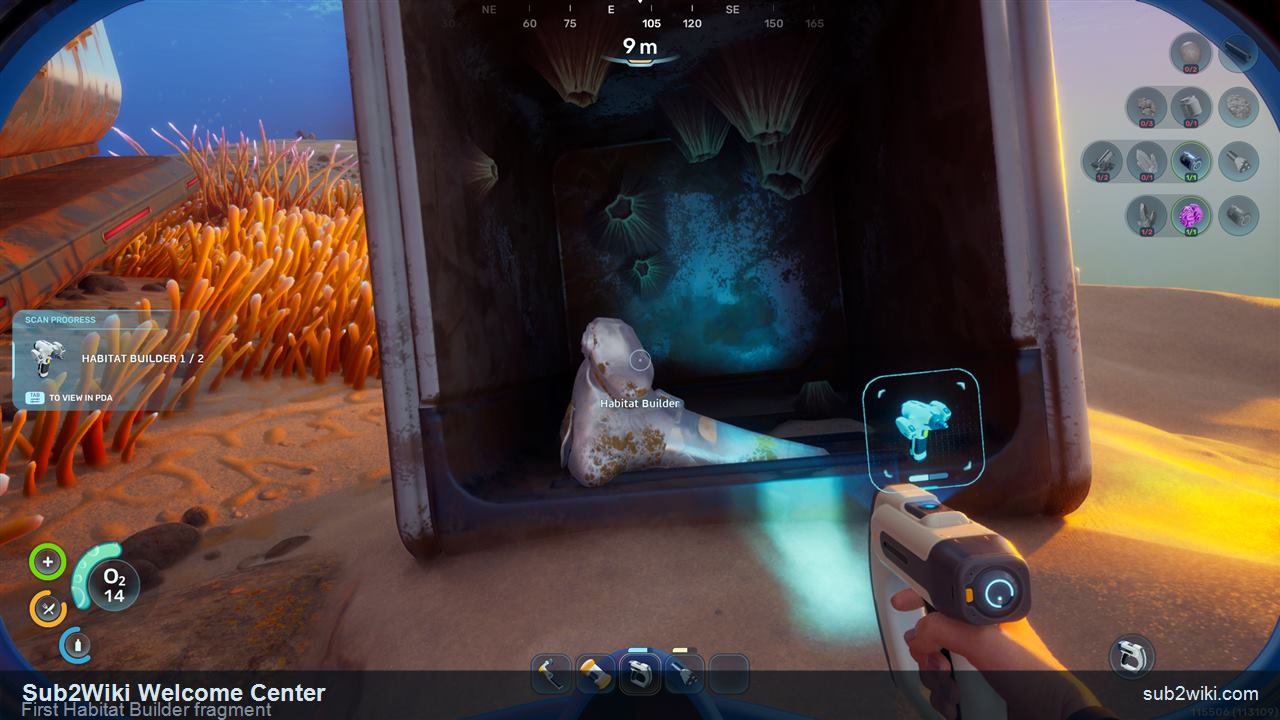
The first Habitat Builder fragment sits near the entrance on the right side. Scan it before heading deeper so your progress is already at 1 of 2.
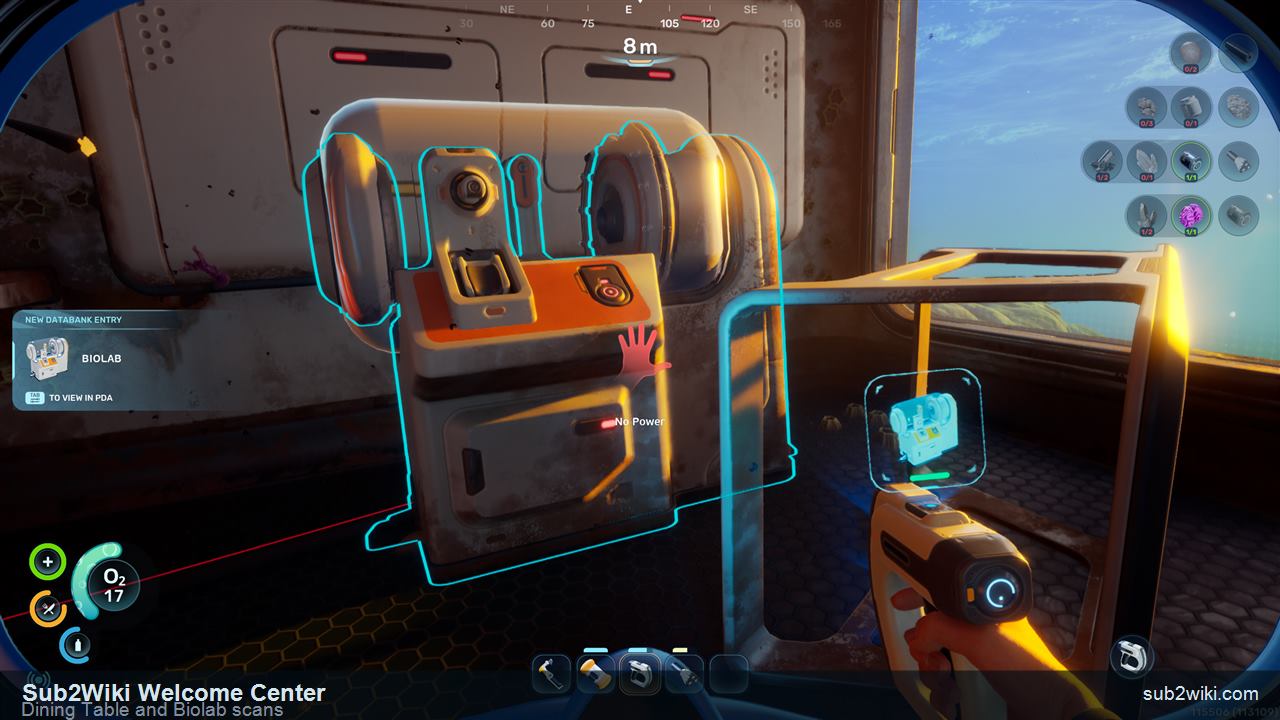
Inside, scan the Dining Table and the Biolab area. The table is a decoration unlock; the Biolab becomes important after you restore power and choose biomods.
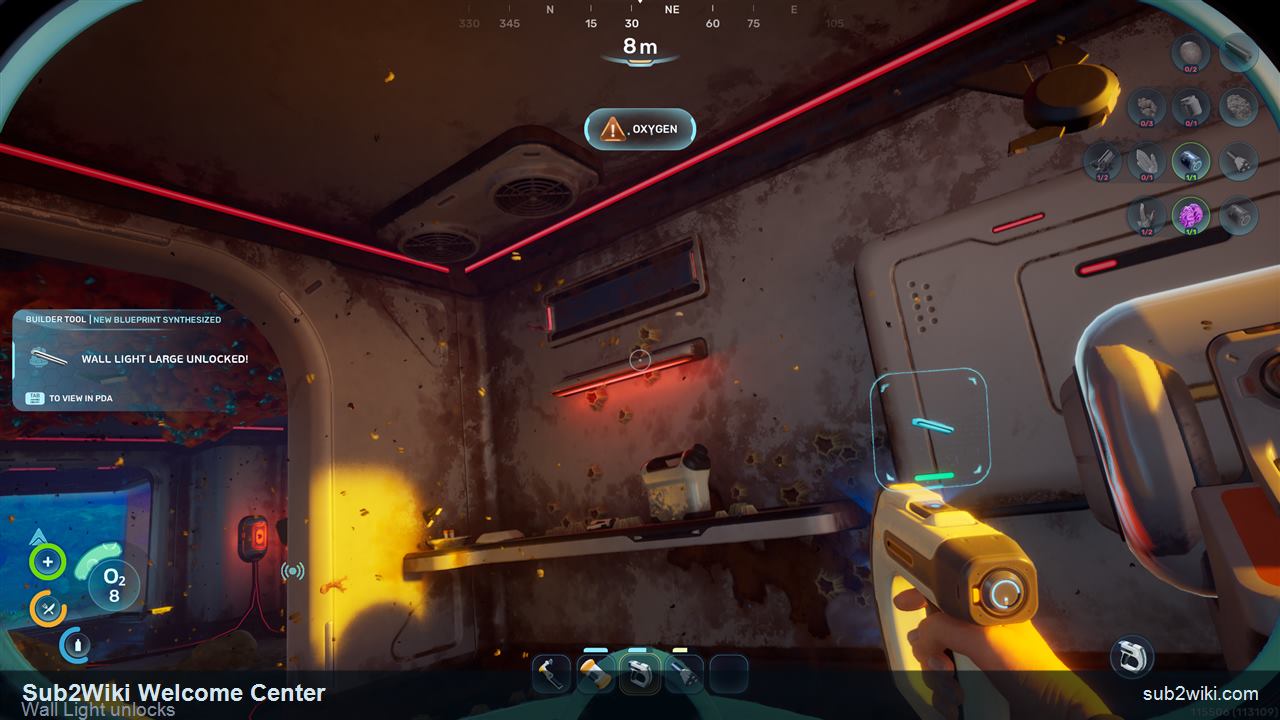
Look along the wall for the light fixtures. Scanning this area unlocks Large Wall Light and Small Wall Light, giving your first base better interior lighting options.
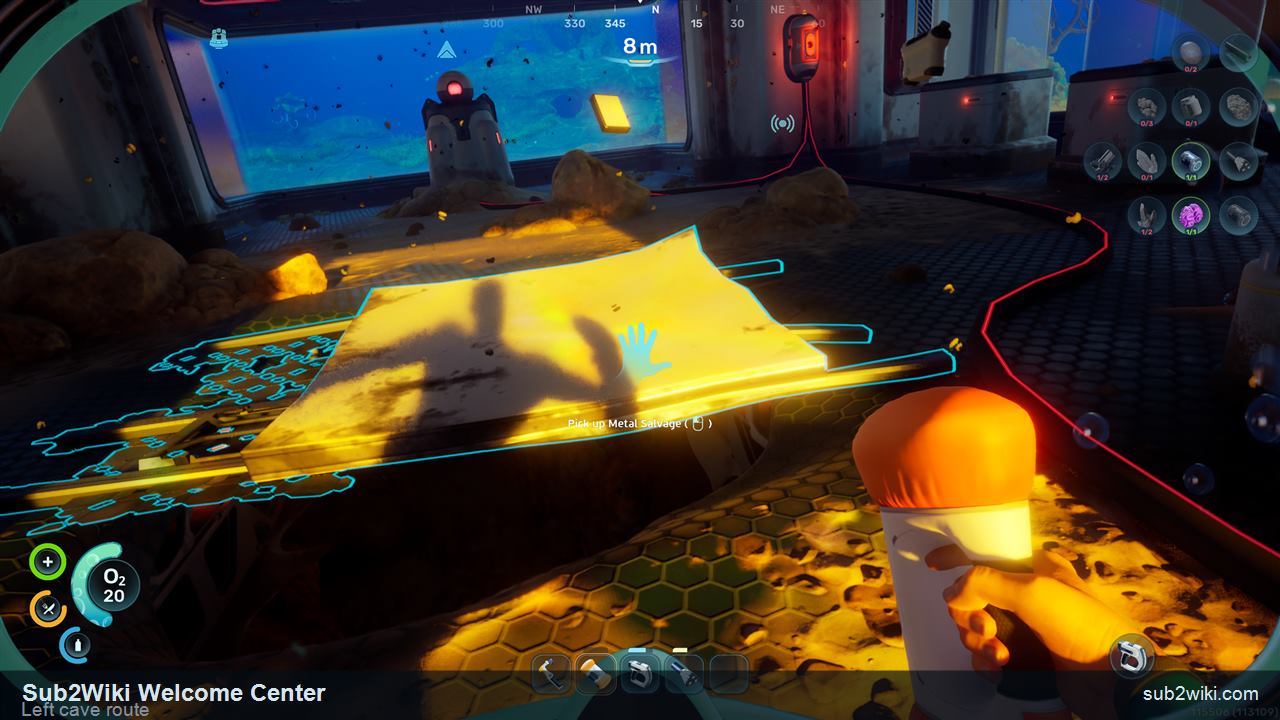
After the interior scans, turn left and pick up the metal salvage. The cave entrance nearby is not a side distraction: it is the path to oxygen and the second Habitat Builder fragment.
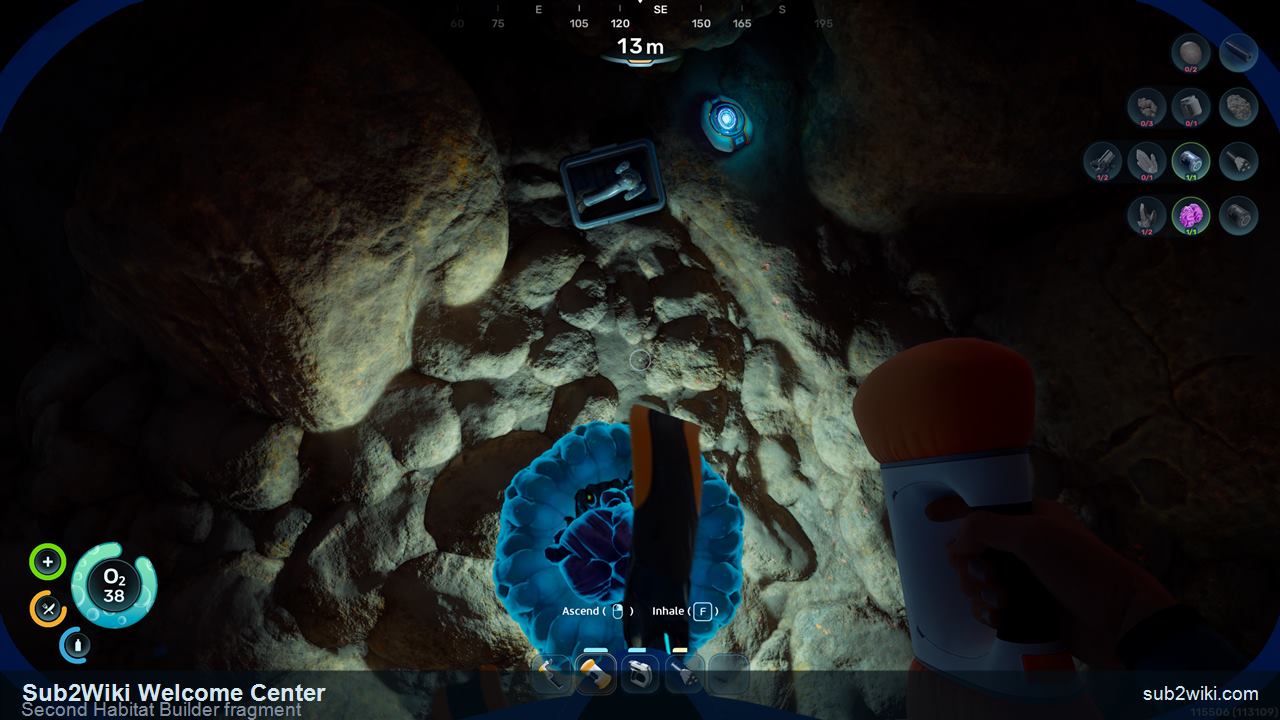
Enter the cave, refill oxygen, and scan the second Habitat Builder fragment. When that scan completes, the Habitat Builder is unlocked, and Hatch plus Corridor become available for your first base plan.
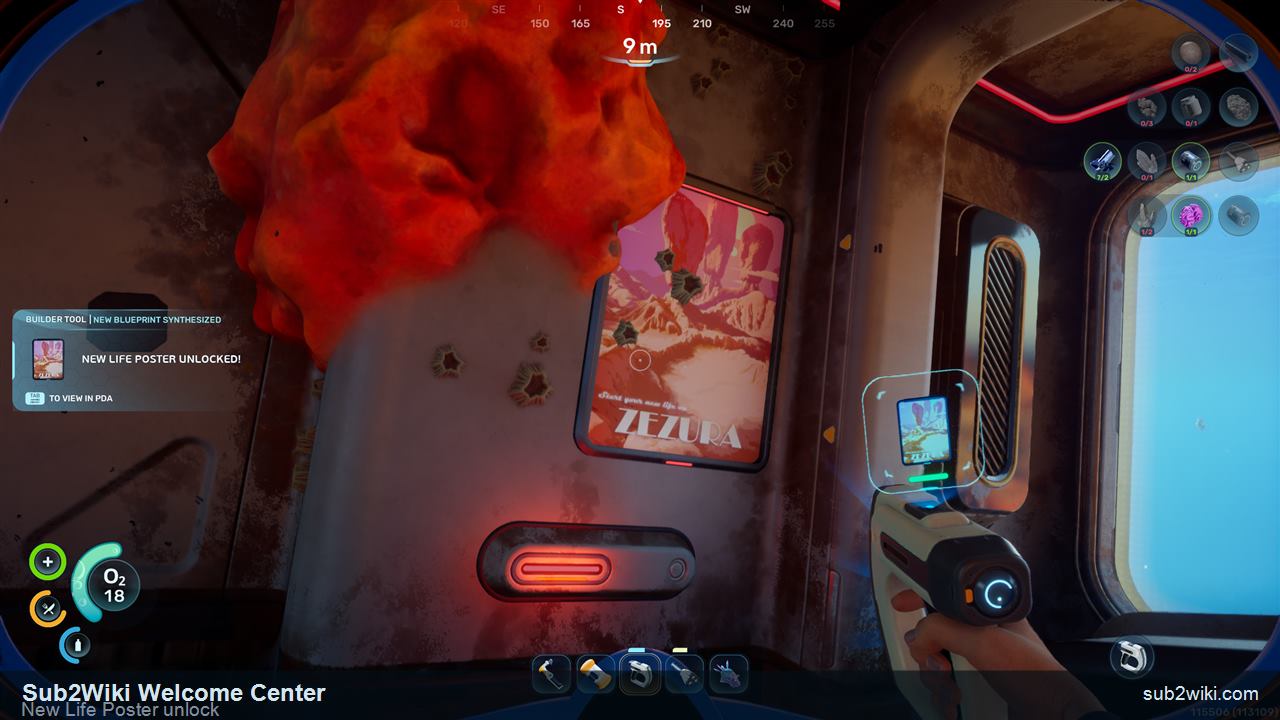
Return upward through the structure and scan the New Life Poster. It is decorative, but it is an easy unlock while you are already clearing the Welcome Center.

The NOA terminal does not work until power is restored. Check it, then follow the cable path to the battery terminal instead of leaving the building.
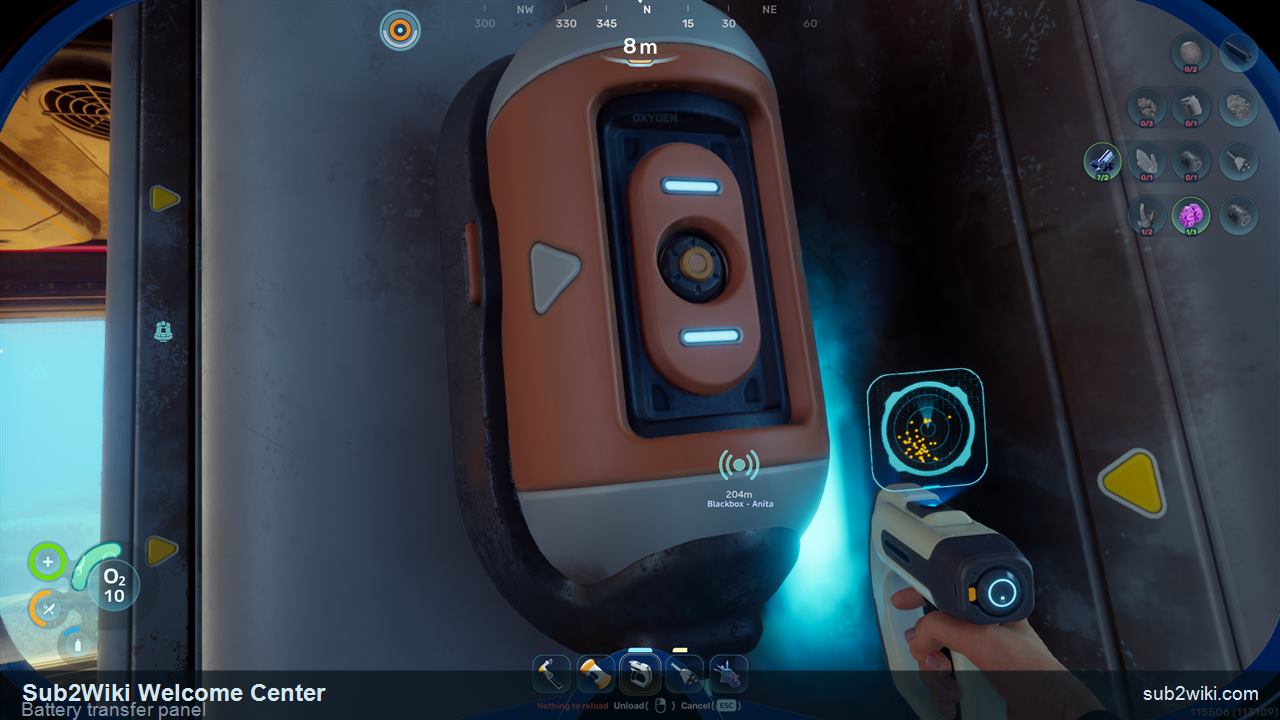
Scan or interact with the battery terminal, then move the available wall battery into the powered slot. Use the battery menu to switch between inventory and terminal batteries so you get the most value from the charge you brought.
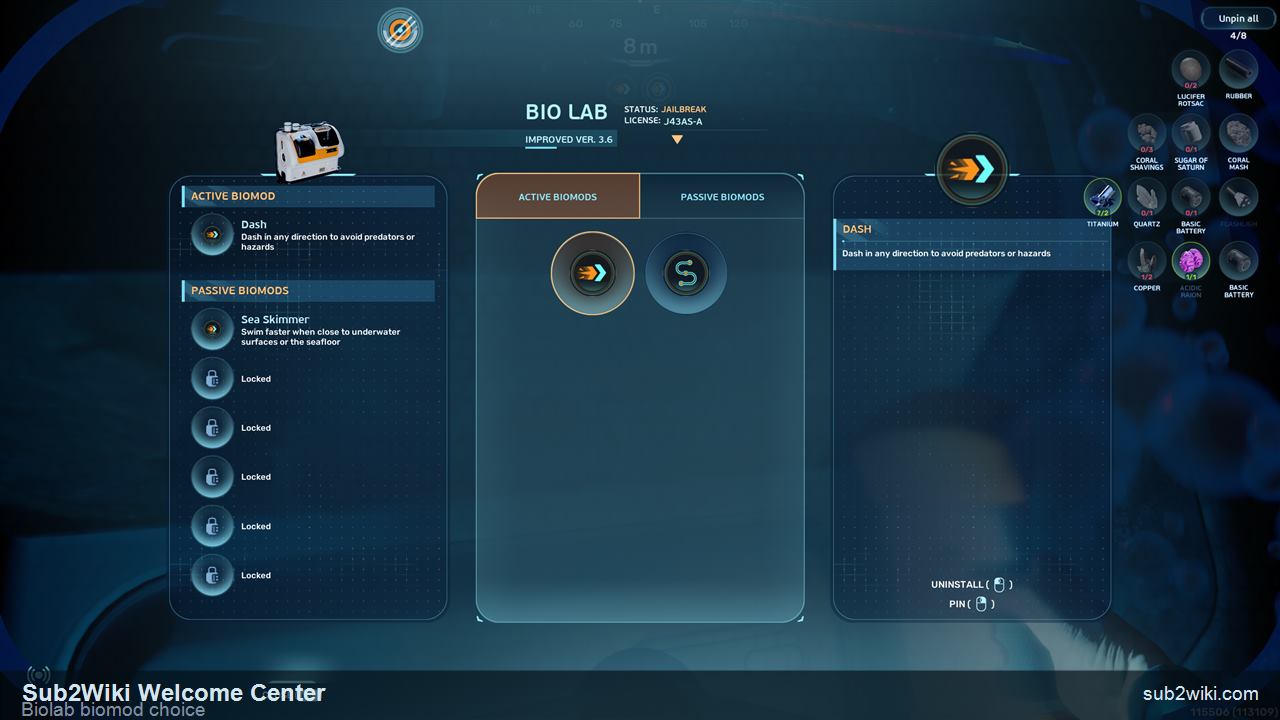
Once power is restored, return to the Biolab. Choose Dash as your active biomod for emergency movement, and Sea Skimmer as your passive biomod for faster swimming close to the seafloor and underwater surfaces.
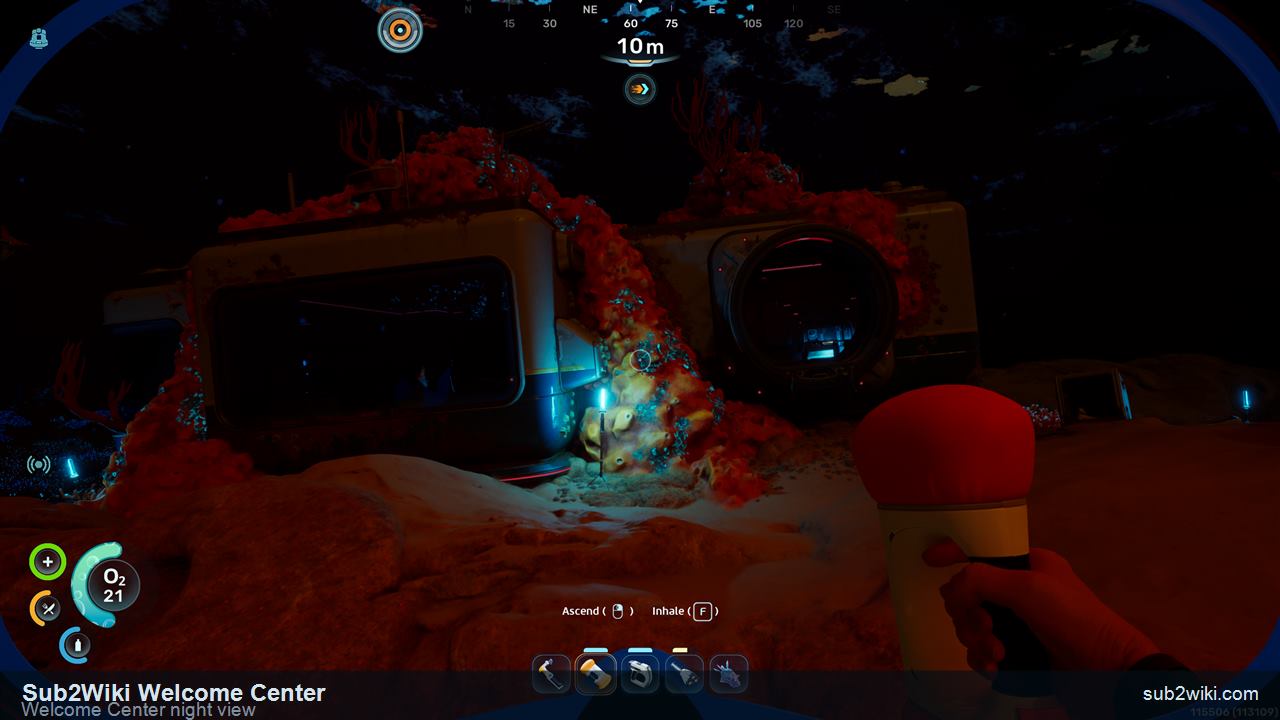
Before leaving, take a moment outside the powered Welcome Center. This is also a good reset point: check oxygen, battery charge, and inventory space before turning the trip into the southwest wreck follow-up.
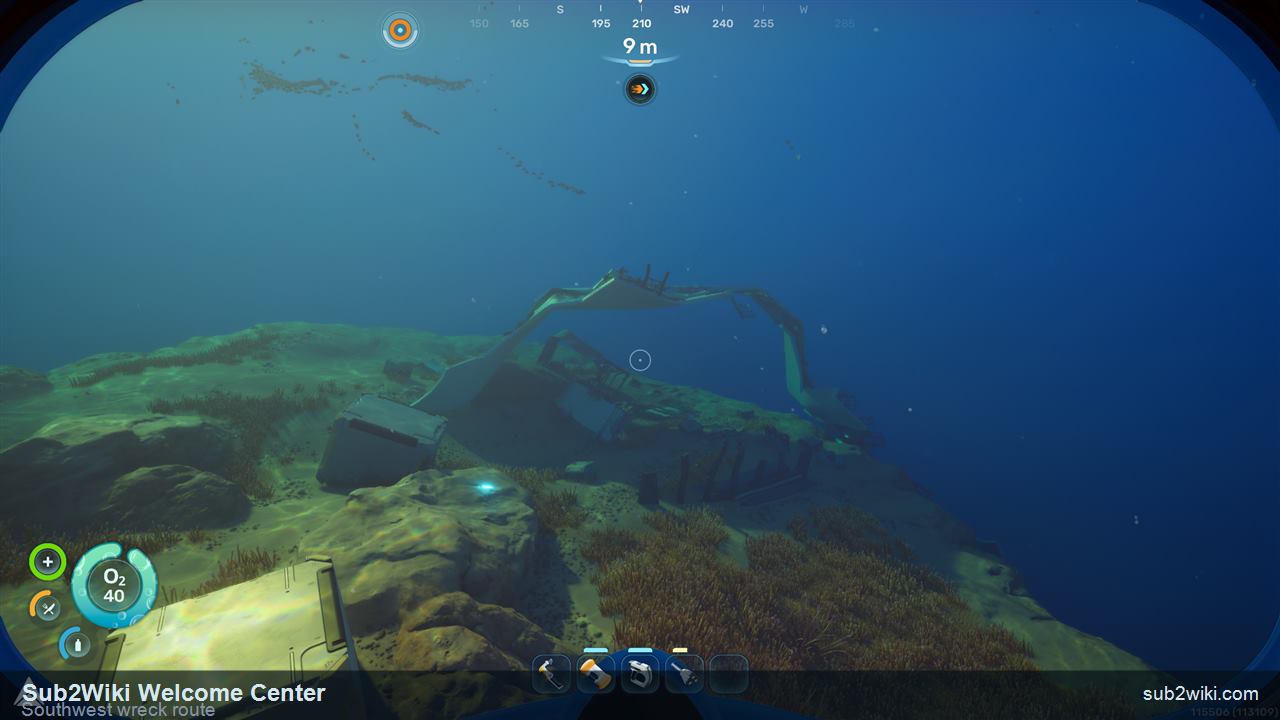
From the Welcome Center, face southwest on the compass, roughly between 210 and 240 degrees. Stay around the 25 metre depth band and look for the nearby wreck pieces rather than diving into the deeper seep immediately.
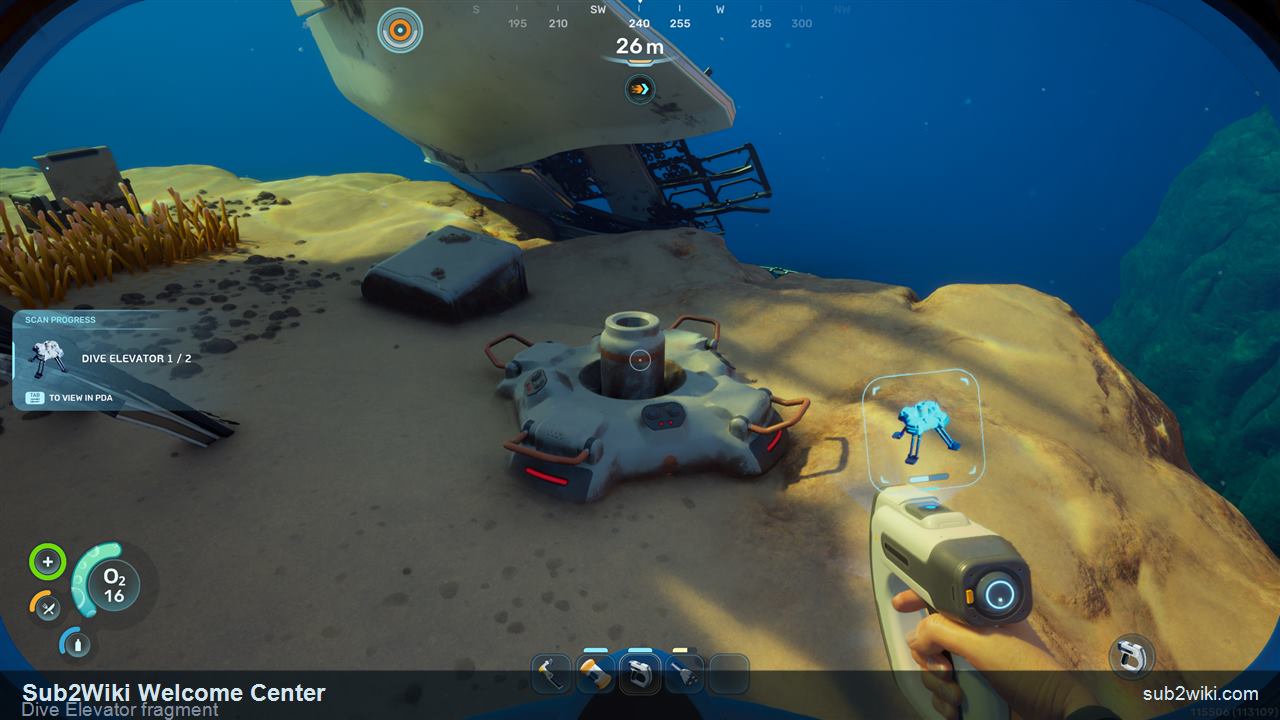
At the southwest wreck, scan the Dive Elevator fragment first. It is an early deployable unlock that makes later vertical routes and repeated depth checks easier to plan.
Scan the Beacon fragment in the same wreck area. Beacon progress matters because the next hour starts to branch away from the Lifepod, and markers keep return routes readable.

Check the nearby supply crate before leaving the wreck. This route already gives major blueprint progress, so any extra materials or supplies help turn the return trip into Habitat Builder crafting instead of another empty swim.
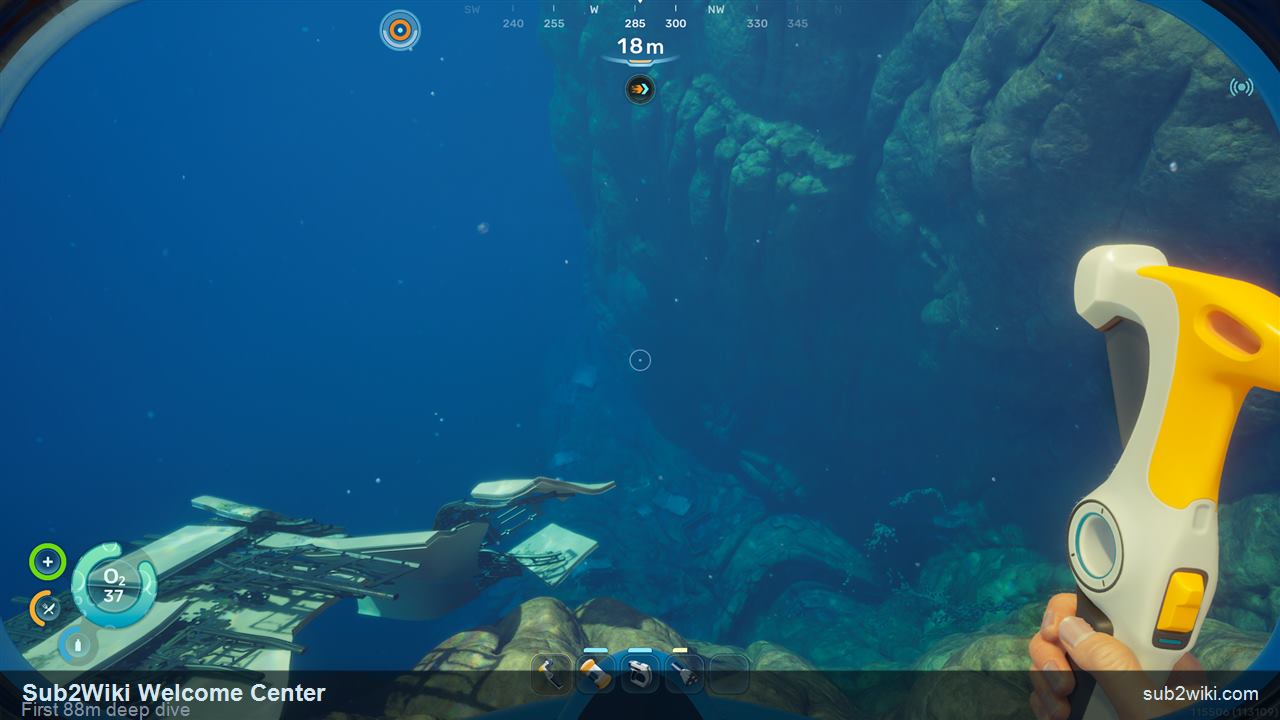
There is a deeper seep nearby that drops toward about 88 metres. Treat this as your first deeper-water look, not a full farm. Use Dash deliberately: W plus Left Shift gives forward burst, while Left Shift without direction can push you backward.

Scan the Tadpole fragment before returning home. One Tadpole scan starts the vehicle route and also reveals Power Cell and Strong Acid, which moves your progression from handheld tools into vehicle-power planning.
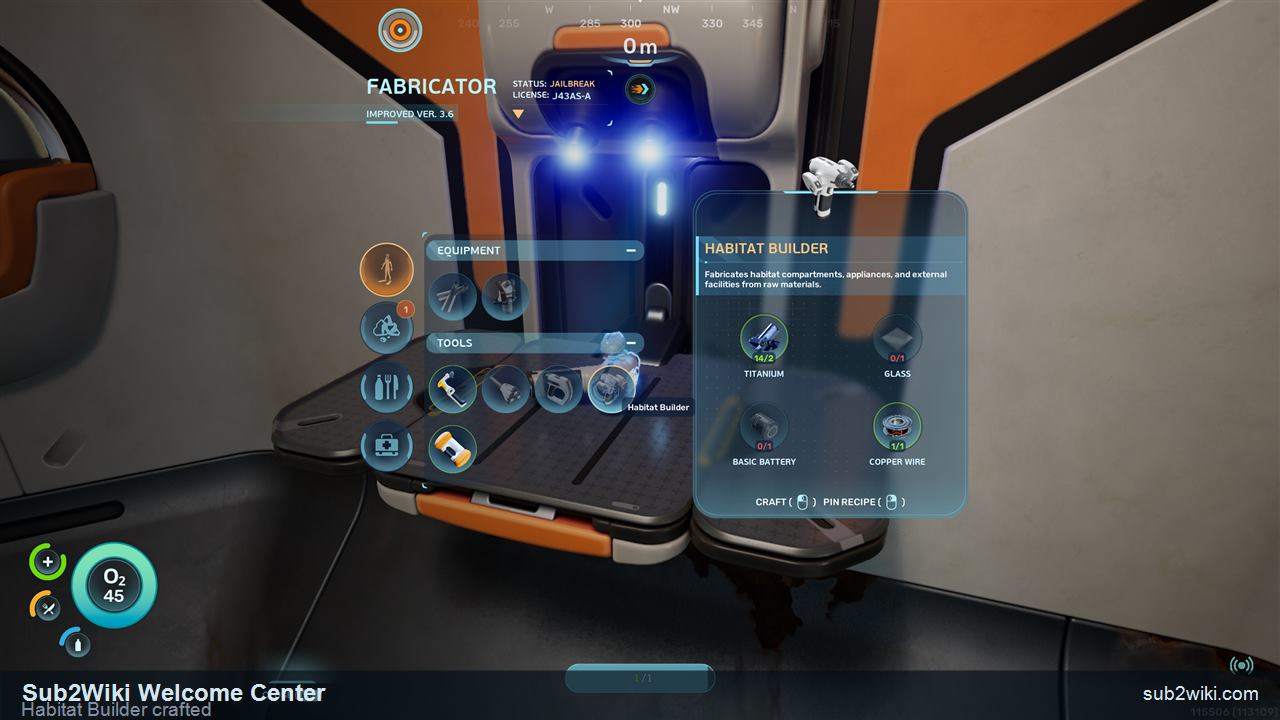
Swim back with any Titanium or starter materials you can safely collect on the way. Once home, craft the Habitat Builder, then you are ready to place the first real base pieces instead of only gathering blueprints.
These are the six main scans to clear before you leave. Habitat Builder is the progression prize; the other five make your first base more useful and less empty.
Base-building tool. Scan both fragments on this route, then craft it after you return.
Unlocking it also opens Hatch and Corridor for the first simple base shell.
Decorative base furniture for your first habitat interior.
Scan it near the Biolab room while you are already inside.
Station for choosing early active and passive biomods.
It matters immediately after power is restored.
Base lighting option for larger wall coverage.
Scan the wall-light area and it unlocks with the small version.
Compact base lighting for corridors and smaller rooms.
Pick it up during the same scan pass as the large light.
Decorative poster for your own base.
Scan it upstairs after the cave route before you leave the building.
After both Welcome Center scans and the southwest wreck follow-up, return to the Lifepod or your Fabricator and reserve starter materials before spending them on spare tools. Habitat Builder needs Titanium, Glass, Basic Battery, and Copper Wire; Glass and Copper Wire each have their own small material step.
| Item | Materials | Why it matters |
|---|---|---|
| | 2 Titanium, 1 Glass, 1 Basic Battery, 1 Copper Wire | Craft this after both Welcome Center scans to start building your first base. |
| | 2 Quartz | Glass is the Quartz conversion step inside the Habitat Builder recipe. |
| | 2 Copper | Crafting Copper Wire also opens the Junction Box path in your build progression. |
| | Starter power craft from the Fabricator | Carry a spare battery to the Welcome Center, then craft another if the Habitat Builder recipe needs it. |
The Welcome Center Biolab asks you to choose practical survival upgrades before the map gets complicated. For most players, Dash plus Sea Skimmer is the cleanest first setup.
Active
Recommended first active pick
Dash gives you an immediate escape and correction tool. Press W plus Left Shift for a forward burst; Left Shift without direction can send you backward.
Active
Useful later
Pathfinder marks the path behind you. It is helpful for complex caves, but the early Welcome Center and starter cave routes are simple enough that Dash usually wins first.
Passive
Recommended first passive pick
Sea Skimmer improves swimming near underwater surfaces and the seafloor, which fits the early route style: shallow shelves, caves, wreck edges, and base-building errands.
Do not turn the Welcome Center into the end of the route. The nearby southwest wreck starts the next chain: Dive Elevator and Beacon help navigation, while Tadpole progress reveals vehicle-power materials.
Scan its fragment at the southwest wreck after leaving the Welcome Center.
Scan its fragment at the same wreck so later routes can be marked cleanly.
Scan one Tadpole fragment at the southwest wreck to start the vehicle route.
Unlocked when Tadpole progress begins, making vehicle power a real planning target.
Unlocked with the Tadpole follow-up chain, then becomes part of later vehicle and resource planning.
From the Lifepod, swim southeast and hold about 150 degrees on the compass. Look for the lit facility ahead rather than a deep cave or distant wreck.
Bring a Scanner and one spare Basic Battery. The Scanner handles the blueprint route, and the battery keeps the power step from forcing a swim back to the Lifepod.
The first is near the Welcome Center entrance on the right side. The second is in the cave below the building, where you can refill oxygen before scanning it.
After the second scan, the Habitat Builder unlocks and the first base shell pieces, Hatch and Corridor, become available.
Pick Dash as the active biomod and Sea Skimmer as the passive biomod for the cleanest first-session value. Pathfinder is useful later when caves become more complex.
Leave the Welcome Center and swim southwest, keeping the compass between about 210 and 240 degrees. The wreck sits around the 25 metre depth band before the deeper seep.
Scan the Dive Elevator fragment, Beacon fragment, and one Tadpole fragment. Open the supply crate too before returning home.
The first Tadpole scan starts the vehicle route and reveals Power Cell and Strong Acid, so the next planning step moves toward vehicle power and deeper travel.
Press W plus Left Shift for a forward Dash. Pressing Left Shift without a direction can send you backward instead.
With Air Bladder selected, press F to refill oxygen. Right-click is the fast ascent action for emergency surfacing.
It is mainly a Below Zero callback. Scan the damaged display case if you want the reference, then continue to the NOA and battery-terminal step.
After the Welcome Center, turn the unlocks into a base and start the vehicle chain.
Do this first if food still fails: Anita black box, Angel Comb, and Digestion.
Turn Habitat Builder into a powered first base with storage and a clean layout.
Tool page for scan route, crafting chain, and first-base planning.
Starter battery planning for Scanner, Welcome Center power, and Habitat Builder.
System page for Biolab, active/passive biomods, and later Bioscanner progression.
Vehicle route after the Welcome Center and first-base setup.